The RTX 5090 isn’t just another GPU upgrade — it’s a powerhouse designed for next‑gen gaming, creative workloads, and AI applications. Whether you’re upgrading from an older RTX card or building a new rig from scratch, knowing how to install and set up your RTX 5090 properly will ensure you get the performance you paid for.
1. Preparing for Your RTX 5090 Installation
1.1 Check Your PC Compatibility
Before you even unbox your RTX 5090:
- Power Supply: NVIDIA recommends at least a 1000W PSU for peak stability.
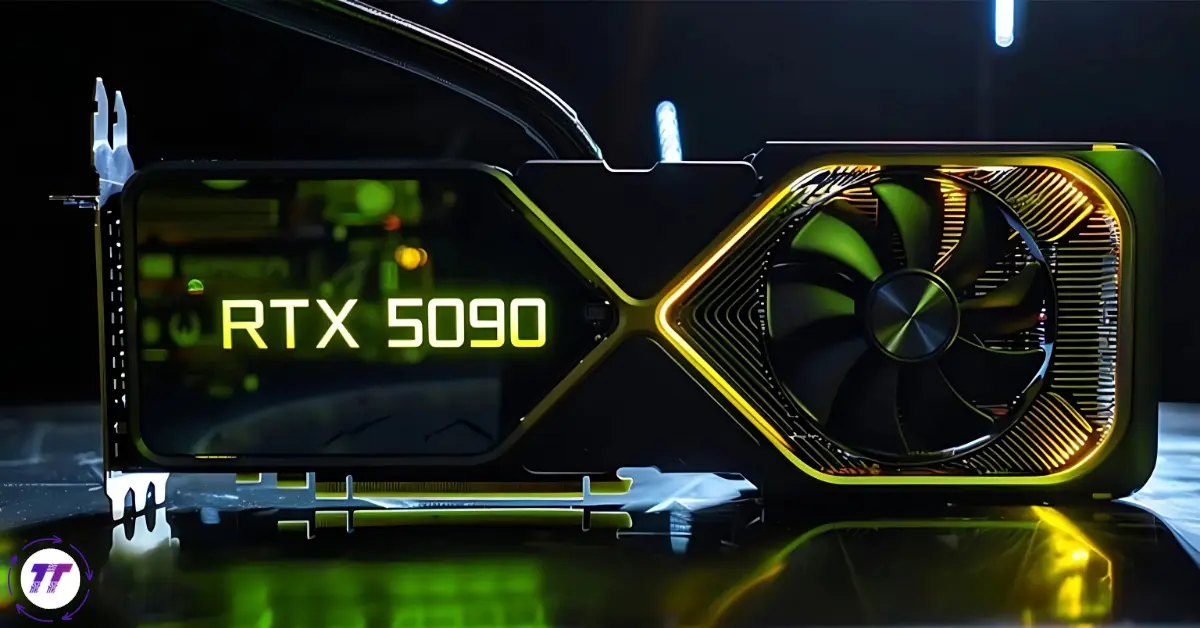
- Case Size: The RTX 5090 is a large card — check your clearance for both length and thickness.
- Motherboard Slot: You’ll need a PCIe 5.0 x16 slot for maximum bandwidth.
Quick tip: I once had to delay my GPU upgrade for a week because my mid‑tower case couldn’t fit the cooler. Always measure twice before buying.
1.2 Gather Your Tools
You’ll need:
- A Phillips‑head screwdriver
- Anti‑static wrist strap (optional but highly recommended)
- Your GPU drivers downloaded in advance from NVIDIA’s website
2. How to Install the RTX 5090
2.1 Power Down and Unplug
Turn off your PC completely and unplug it from the wall. Hold the power button for 5–10 seconds to discharge any remaining electricity.
2.2 Remove the Old GPU
- Open your case side panel.
- Unscrew the bracket securing your old GPU.
- Gently press the PCIe latch and pull the card out.
2.3 Insert Your RTX 5090
- Align the gold contacts of the RTX 5090 with the PCIe slot.
- Firmly but gently push the card into place until you hear a click.
- Screw the bracket into the case for stability.
2.4 Connect Power Cables
The RTX 5090 uses the latest 16‑pin (12VHPWR) connector. If your PSU doesn’t have one, use the adapter included in the box — but avoid daisy‑chaining multiple cables.
3. How to Set Up Your RTX 5090 in Software
3.1 Install Drivers
Even if Windows automatically detects your RTX 5090, you should:
- Go to NVIDIA’s official driver page.
- Download the latest Game Ready or Studio drivers.
- Follow the installation prompts, choosing Custom Install if you want a clean setup.
3.2 Adjust NVIDIA Control Panel Settings
Open the NVIDIA Control Panel:
- Set your preferred resolution and refresh rate.
- Enable G‑SYNC or FreeSync if supported.
- Adjust power management to Prefer Maximum Performance for gaming.
3.3 Test Performance
Use benchmarking tools like:
- 3DMark
- Unigine Heaven
- Your favorite games with built‑in benchmarks
4. Optimizing Your RTX 5090 for Peak Performance
4.1 Enable DLSS and Ray Tracing
The RTX 5090’s new Tensor and RT cores make real‑time ray tracing buttery smooth, especially when paired with DLSS 4.
4.2 Monitor Temperatures
Use MSI Afterburner or HWMonitor to:
- Keep temps below 80°C for longevity.
- Adjust fan curves if needed.
4.3 Consider Overclocking
While the RTX 5090 already delivers insane speeds, safe overclocking can push it further — just monitor temperatures and stability.
5. Troubleshooting Common RTX 5090 Installation Issues
5.1 No Display on Boot
- Check that your GPU is fully seated.
- Verify monitor cables are plugged into the GPU, not the motherboard.
5.2 Driver Crashes
- Reinstall drivers using NVIDIA’s Clean Install option.
- Disable background apps that may conflict.
5.3 High Temperatures
- Recheck airflow.
- Clean dust filters and ensure fans are spinning correctly.
6. Maintenance Tips for Your RTX 5090
- Dust your PC every 1–2 months.
- Update drivers regularly.
- Keep an eye on firmware updates from NVIDIA.
Grab RTX 5090 From Amazon Now
Conclusion: Powering the Future with the RTX 5090
Installing and setting up your RTX 5090 isn’t just about plugging in a card — it’s about unleashing next‑level performance. By taking the time to install and set up your GPU correctly, optimizing settings, and maintaining it, you’ll enjoy smoother gameplay, faster rendering, and better AI processing for years to come.
If you haven’t yet, grab your RTX 5090, clear some desk space, and start building your dream rig today — because the future of graphics is already here.