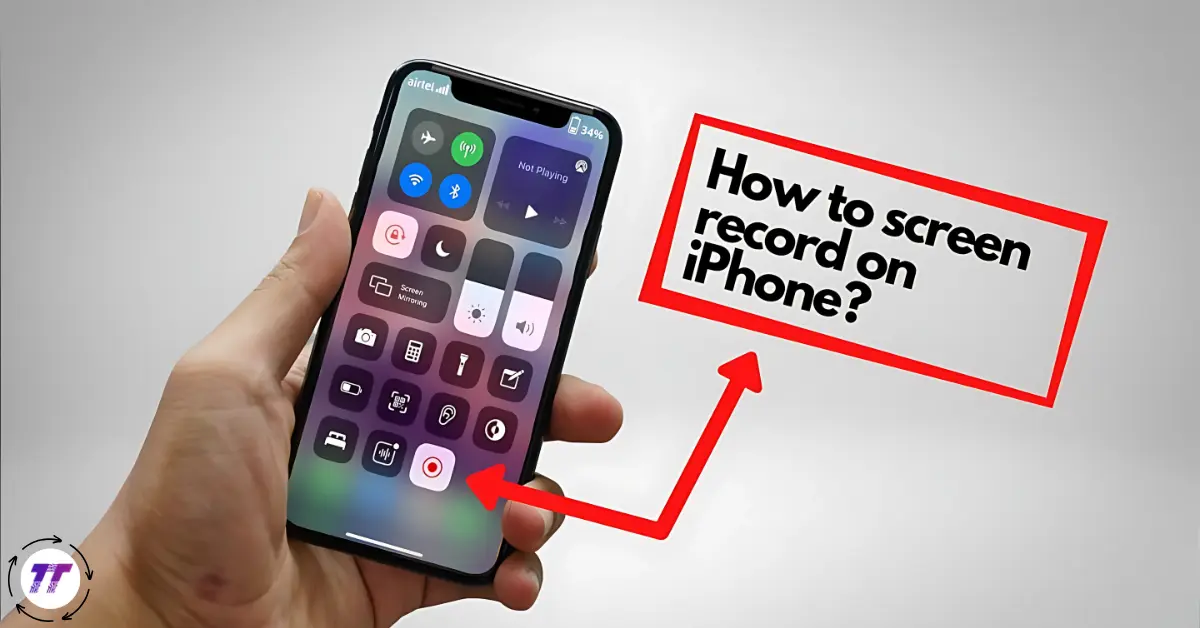
Ever wanted to share a quick tutorial with a friend, capture an epic gaming moment, or save a funny social media clip? If you own an iPhone, you’re in luck — the built-in screen recording tool makes it incredibly simple to do all of that and more. In this guide, we’ll walk through exactly how to screen record on iPhone, explain useful settings you might not know about, and share a few pro tips to get the most out of it.
By the end, you’ll not only know how to record your iPhone screen but also how to make those recordings look and sound their best.
Why Screen Recording on iPhone is So Useful
The ability to screen record on iPhone is more than just a fun trick. It’s a powerful way to communicate and save information visually. Here are just a few examples:
- Tutorials for friends or coworkers — Show exactly where to tap and what to do.
- Capturing gameplay highlights — Keep proof of your gaming achievements.
- Saving disappearing content — Record Instagram stories, Snapchat videos, or other temporary media (note: always respect privacy and copyright laws).
- Tech troubleshooting — Share a recording with tech support so they can see the problem in real time.
How to Screen Record on iPhone: The Basics
Before you can start recording, you’ll need to make sure the feature is turned on in your Control Center. Here’s how to do it step-by-step.
Step 1: Enable Screen Recording in Control Center
- Open the Settings app.
- Scroll down and tap Control Center.
- Under “More Controls,” find Screen Recording.
- Tap the green plus (+) icon to add it to your Control Center.
Now, the screen recording button will always be just a swipe away.
Step 2: Start Recording
- Swipe down from the top-right corner of your screen (on iPhones with Face ID) or swipe up from the bottom (on older models with a Home button).
- Tap the record button (a solid circle inside another circle).
- You’ll see a three-second countdown — perfect for getting ready.
- Your iPhone will start recording everything on screen until you stop it.
Step 3: Stop Recording
- Tap the red status bar or the red record icon in Control Center, then choose Stop.
- Your recording will automatically save to the Photos app.
Adding Audio to Your iPhone Screen Recording
By default, your iPhone records without microphone audio — just the system sounds. But what if you want to narrate a tutorial or add commentary?
Here’s how to turn on audio while recording:
- Open Control Center.
- Press and hold the screen record button (don’t just tap).
- Tap the Microphone icon at the bottom to turn it on.
- Start your recording with narration.
This way, you can explain what’s happening on-screen while showing it.
Tips to Improve Your Screen Recordings
If you want your screen record on iPhone sessions to look professional, a few tweaks can make a big difference.
Clean Up Your Screen First
- Close unused apps.
- Clear notifications to avoid pop-ups during recording.
- Set your phone to Do Not Disturb mode so calls won’t interrupt you.
Record in Good Lighting (for FaceTime or Camera Overlays)
If you’re recording a video call, good lighting helps the other person appear clearer on screen.
Keep Movements Smooth
Avoid frantic swiping or rapid tapping — slower movements make it easier for viewers to follow along.
Editing Your Screen Recording
Once you screen record on iPhone, you might want to trim it or highlight key moments. Luckily, you can do basic edits without downloading extra apps.
Trimming in the Photos App
- Open your recording in Photos.
- Tap Edit in the top-right corner.
- Use the sliders to cut unwanted parts from the beginning or end.
- Save your trimmed version.
Using Third-Party Apps for More Control
If you want to add annotations, zoom effects, or text overlays, apps like iMovie, CapCut, or InShot offer more customization.
Common Screen Recording Problems (and Fixes)
Even though it’s easy to screen record on iPhone, you might occasionally run into issues. Here’s how to troubleshoot:
- No Sound Recorded — Make sure your microphone is turned on in the recording settings.
- Recording Won’t Start — Restart your iPhone and check for available storage space.
- Video Looks Blurry — Ensure your device is set to High Efficiency recording in Settings > Camera > Record Video.
Advanced Uses for Screen Recording
Once you master how to use the feature, you can get creative:
- Create quick app demos for social media.
- Make educational videos for YouTube or online courses.
- Capture bug reports for developers when testing apps.
- Record personal reminders (like scrolling through a to-do list and narrating it).
Privacy & Legal Considerations
Just because you can screen record on iPhone doesn’t mean you always should. Always:
- Get consent before recording calls or video chats.
- Avoid capturing sensitive information like passwords or banking details.
- Respect copyright laws when recording media content.
Final Thoughts
Learning how to screen record on iPhone opens up a world of possibilities — from sharing helpful tutorials to saving special moments. The built-in feature is quick, powerful, and flexible, making it a must-know skill for any iPhone user.
So the next time you need to explain something visually or save something before it disappears, you’ll know exactly how to capture it. Go ahead — swipe, tap, and record your way to better communication.


